Hi folks! If you’ve found your way here for more detailed information from my session at JNUC 2020, From Hands-on to Zero Touch, welcome! I’ve detailed the steps here outlining the process that took us to being able to support zero touch when suddenly everyone was remote.
Initially we were using DeployStudio to image our Macs. The workflow was to erase the machine and push down static image known as a Gold Master. DeployStudio worked with netboot, which is no longer available as an option on new Macs. It was also able to install packages, and truthfully we were installing many items from packages for multiple workflows. Most of you know that this is no longer the preferred method, and hasn’t been for some time due to changes in Apple’s security and macOS. We initially were modifying the Default User Template and found that certain things were no longer working when customized. We started seeing permissions issues crop up, and with certain updates machines weren’t getting firmware updates.
One of the biggest reasons to move was the changes with User Approved Kernel Extension Loading (UAKEL) and User Approved Mobile Device Management (UAMDM). These two settings specifically require approval at each machine unless you enroll with DEP/ADE. We migrated to using Jamf Imaging, which was similar in some ways. We wiped the drive, but used a blank OS image created with AutoDMG and installed all applications and settings individually with packages. This was an important setup step to allow us to more easily move to a Device Enrollment Program, or DEP, (now known as Apple Device Enrollment or ADE) workflow. By having a workflow with packages we were able to migrate and test easily a new automated workflow.
But this spring, suddenly everyone was remote. We still had new employees starting who needed computers. I made sure our package repository was available in the cloud by replicating our on-prem repo to Jamf cloud. I ensured that new users would have NoMAD and VPN installed to make sure they could access network resources and sync their password to their AD credentials even when off campus.
Here’s a short list of the major steps needed to make sure we were ready to deploy zero touch:
- Sign up for Apple’s Device Enrollment
- Ensure our JSS and package repo is available off campus
- Configure Prestage Enrollment
- Utilize Inventory Preload
- Configure setup with DEPNotify and DEPNotifyStarter.sh
- Use NoMAD to sync a local password with the user’s AD password
- A backup plan in Self Service in case our DEPNotify workflow doesn’t start because of the enrollmentComplete trigger failing
And here is a list of important tools I used in the process:
- DEPNotify: a great utility to make it look nice while installing your standard software
- DEPNotify-Starter: A bash script you can customize to run an array of policies and display output to DEPNotify
- NoMAD: An alternative to binding to AD, allows a local user account maintain a kerberos ticket and sync your password with an AD account password.
- Outset: A utility that allows scripts to be run at various times, login or boot and with options for running once or every time. Useful to set some specific user settings without modifying the user template.
- Dockutil: Allows for modification of the dock using a script.
- Desktoppr: Allows changing the user’s desktop background without asking for additional permissions as
osascriptdoes. - Whitebox Packages: A GUI application to build package installers. Alternately, you can use Jamf’s Composer.
- Profile Creator: A GUI application to build granular profiles and optionally sign them.
- the MUT: This is a GUI tool for uploading information to Jamf using the API. Allows you to move devices between different Prestage enrollments, update device inventory information and clearing inventory or EA data for specific machines.
- Jamf API: scripts written using this to grab inventory data to customize the system
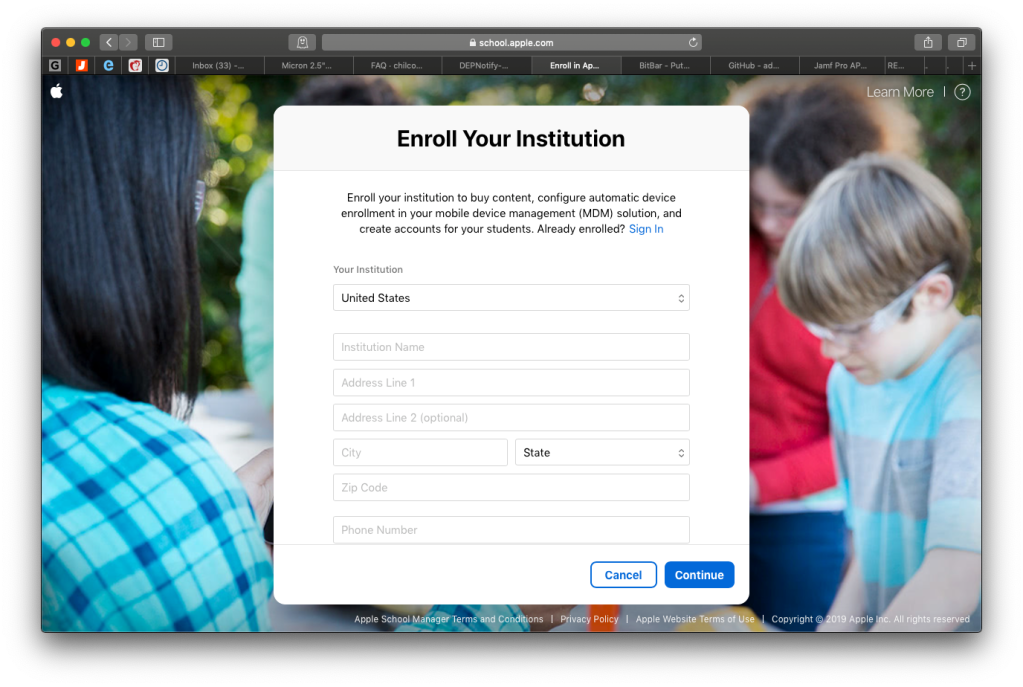
Signing Up for Apple’s Device Enrollment
Setting up an account on Apple School Manager or Apple Business Manager is the first step. I found it to be generally stress free. A simple form to fill out, followed by a call to my boss to verify things. Once enrolled, I was able to link our Apple Customer Number to the account and import all our purchases to assign to our Jamf Pro instance.
Apple Business Manager and Apple School Manager recently changed their interface, but I initially was able to upload and assign machines using a csv exported from my inventory system.
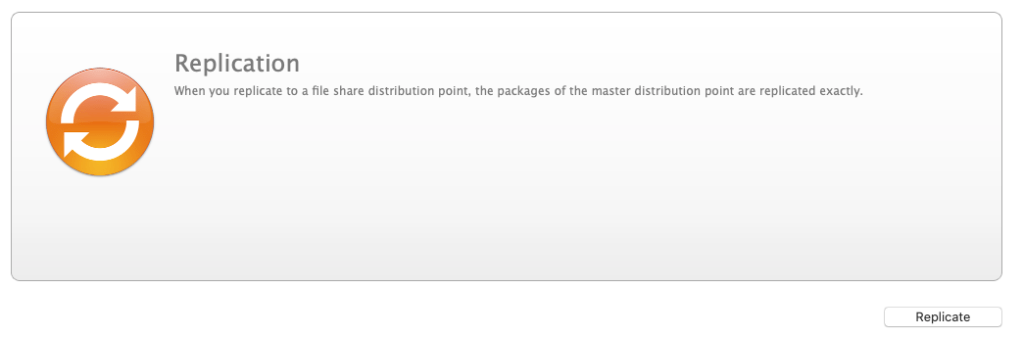
Ensuring Jamf is Available Everywhere
We had migrated to Jamf Cloud some time ago already, but were still using a local package repository. I was able to take that repository and replicate it to our cloud storage and set that cloud storage as our main repository. While time consuming, it worked eventually. I just had to ensure my machine did not fall asleep during that initial replication, for this I used the caffeinate command.
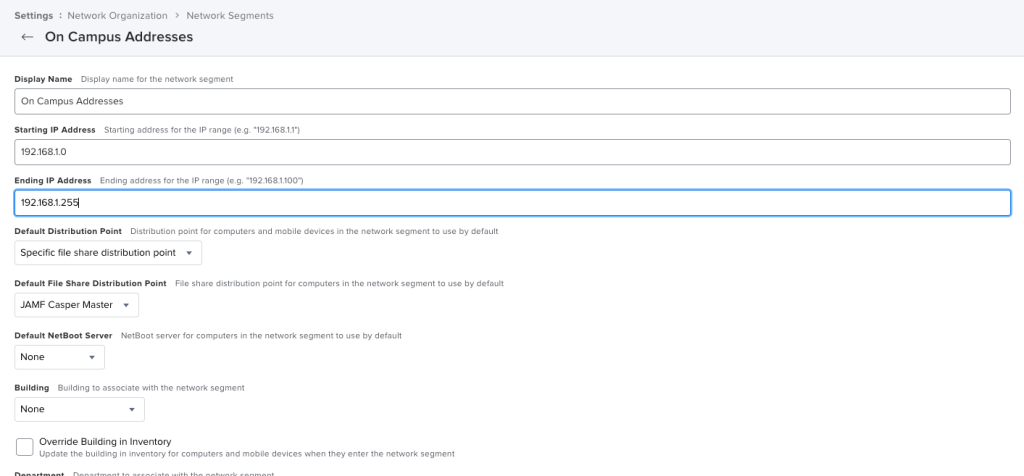
I followed this with keeping our on campus distribution, and and I created a Network Segment to direct traffic to the local package repository. I also found that you cannot immediately replicate a package you’ve uploaded, and you must wait for a short while before a cloud package can be replicated.
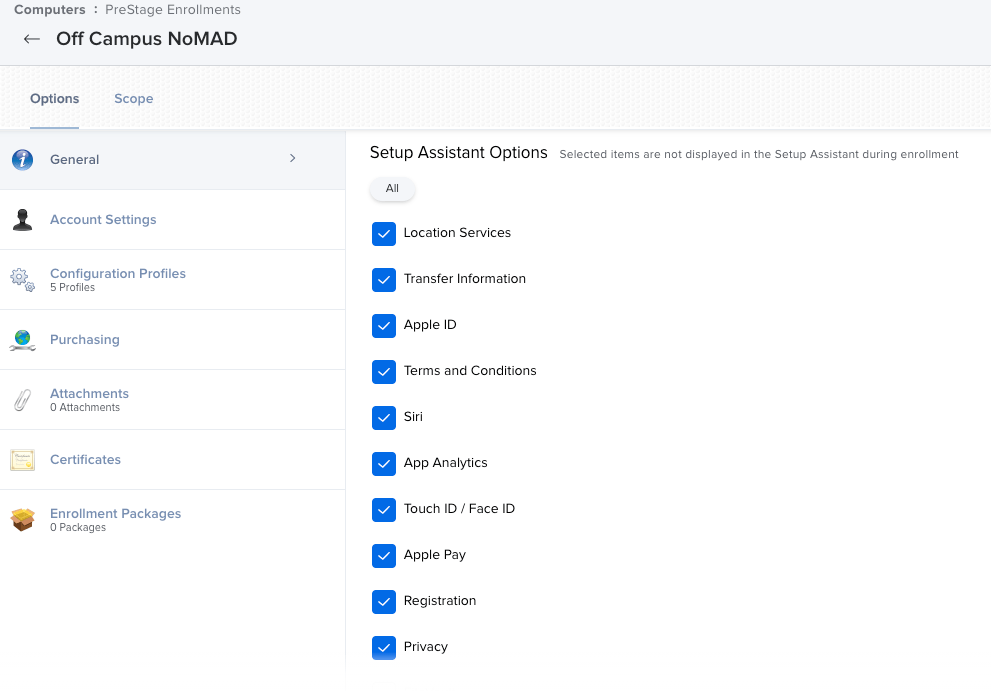
Configure Prestage Enrollment
There are a few things to keep in mind here, if you apply a profile at this point you’ll need the machine to still be in scope. If you deploy a package with prestage enrollment you initially needed a cloud repository as your main, and it needs to be signed. This has since been amended to allow on-prem to host a prestage package, but this could be problematic if a machine is powered on and connected off campus.
There are customizations you can make to the setup assistant like skipping options, or adding profiles and packages.
Utilize Inventory Preload
First you’ll need to make sure you have Buildings and Departments populated. This can be done manually, or with an API script to upload. I use these to scope specialized software and printers based on location or department (as some departments may be in more than one building on campus). You will get an error if you try to use a building or department that does not yet exist.
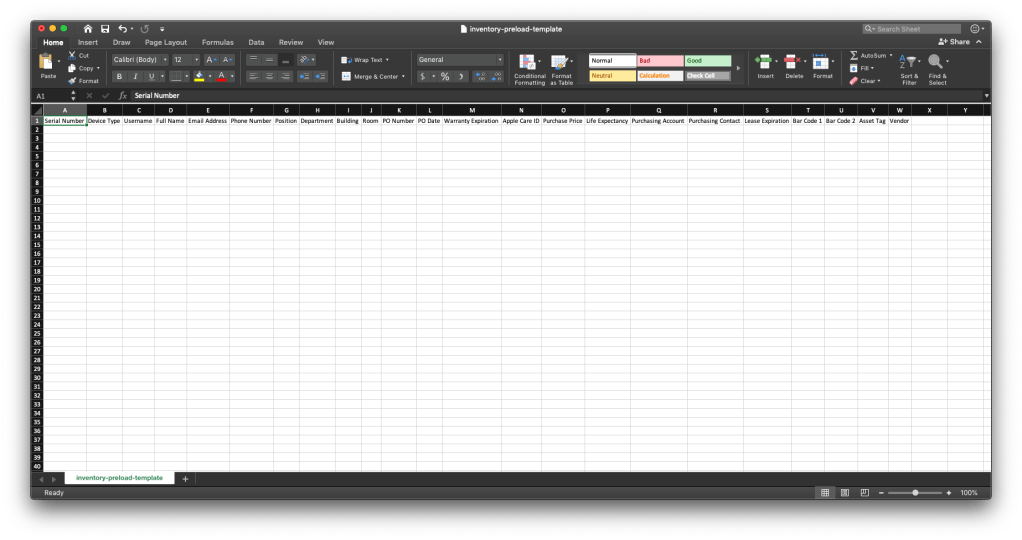
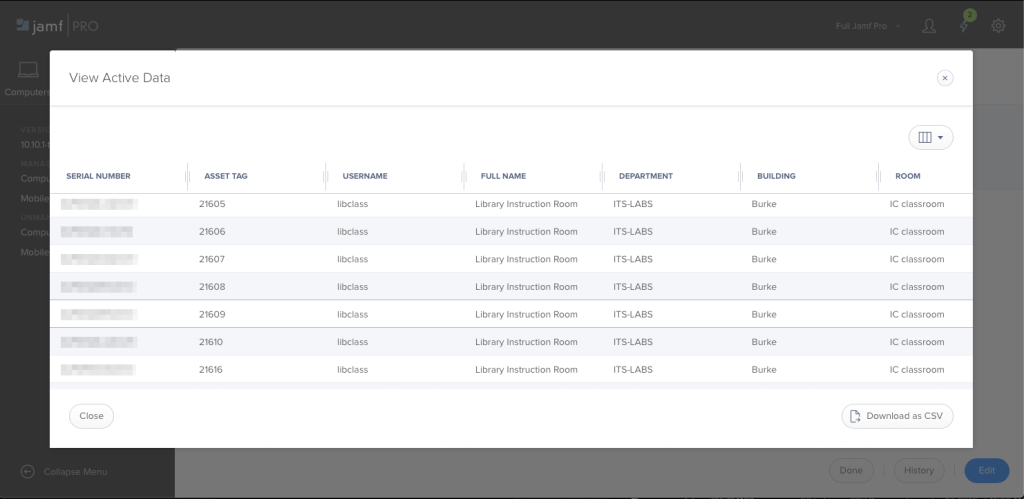
Once the file is prepared you can upload it, in the settings area. After uploading you can view your data.
Configure setup with DEPNotify and DEPNotify-Starter
I configured DEPNotify with a series of policies to install software scoped to all machines, or some to just specific departments or buildings.
Most importantly here is making sure you have policies for all the software and user customization you will apply. I deploy outset, dockutil and desktoppr and scripts utilizing them with the outset logon-once folder so they run once to create a basic setup for each user. Edit: here is a post with some sample scripts to set user settings with outset, dockutil and desktoppr.
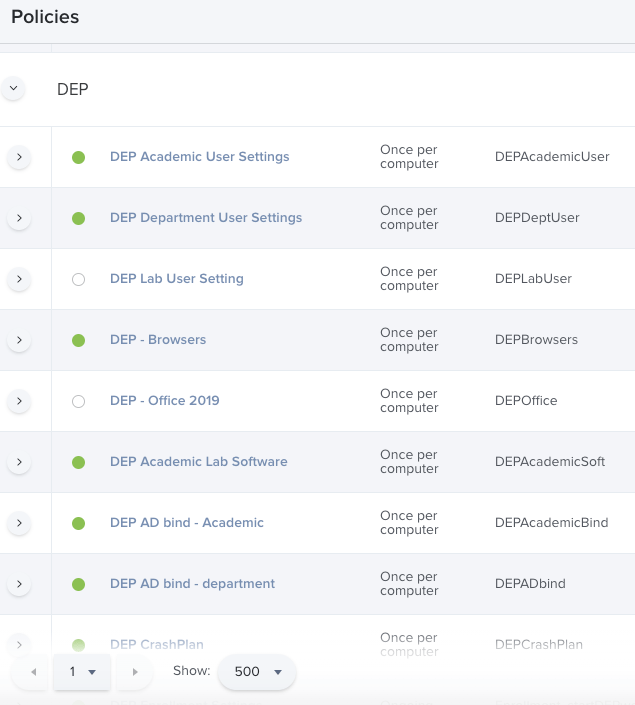
The main customization with DEPNotify-Starter was to create my own array of policies and display text. I have one version of this script and each policy is scoped based on things like the department and building that we set in inventory preload.

I also deploy software for things like security, our basic applications like web browsers and Microsoft office. I have multiple policies so they can be scoped as needed to departments, academic facilities, or specific labs. I utilize the Jamf API with scripts to customize, as detailed here. These API scripts are one of the reasons I use inventory preload, I can assign a machine to a user based on the serial number and use it to set up with the appropriate building and department.
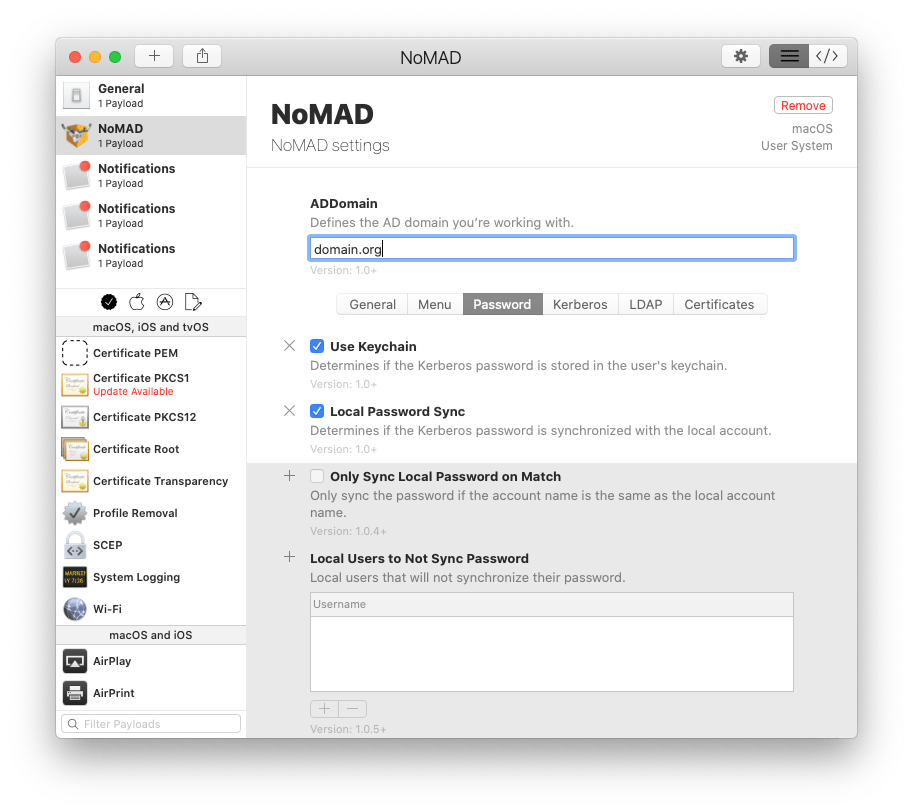
Use NoMAD to sync a local password with the user’s AD password
Fairly straightforward here, we push NoMAD, the launch daemon and a profile to configure the software. Once the user’s account is configured, if they are on campus they can log in and sync their password. If they are off campus, they can do the same once they log in via VPN.
A backup plan in Self Service
A custom trigger on the DEPNotify-Starter policy allows me to set it in Self Service to kick off in case the enrollmentComplete trigger doesn’t work for some reason.


Hopefully this clears up some of the steps required to pivot to a modern deployment workflow that is compatible with zero touch.
